In the photos below you can see a brilliant example of how to build a synthetic putting green.
This is one of our DIY synthetic golf greens and is a perfect example of using a dead space at your property:
- Turn a previously ugly or unused space into something special
- Enhance your property
- Give yourself a place where you can practise your golf game
- Build an entertainment area
- And it’s even something the wife will love!
It’s a perfect win-win situation. And because it’s DIY, you can save yourself 1000’s over a full install. In this case, the home owner enjoyed getting some mates over and building his golf green.
Finally finished today. Love the green my son and I have spent hours on it already. Thank you for all your help during the process. With the guide making things heaps easier. Was a good excuse to get some mates around and have a beer or two as well.
And this is what our golf greens and business is all about – bringing family and friends together to play golf. Check out the pics below on how to build a synthetic putting green
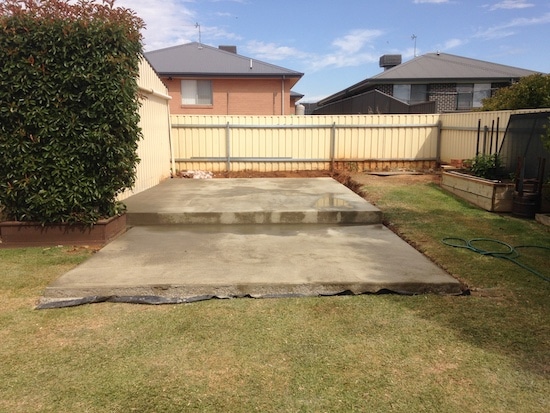
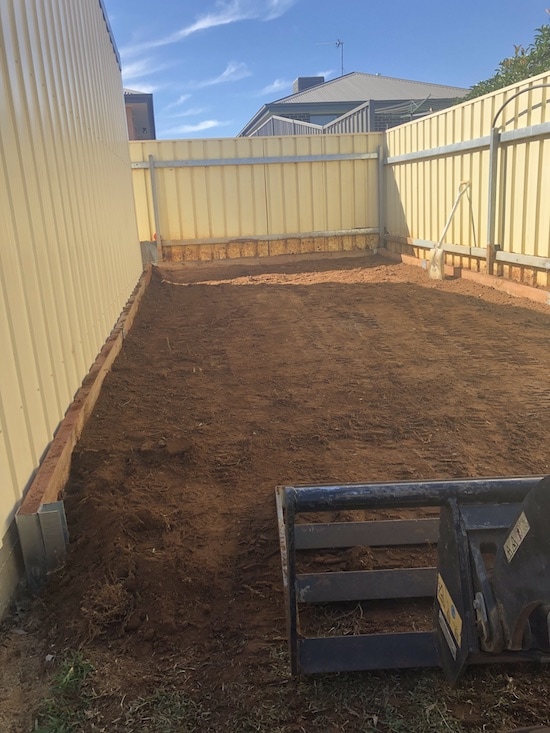
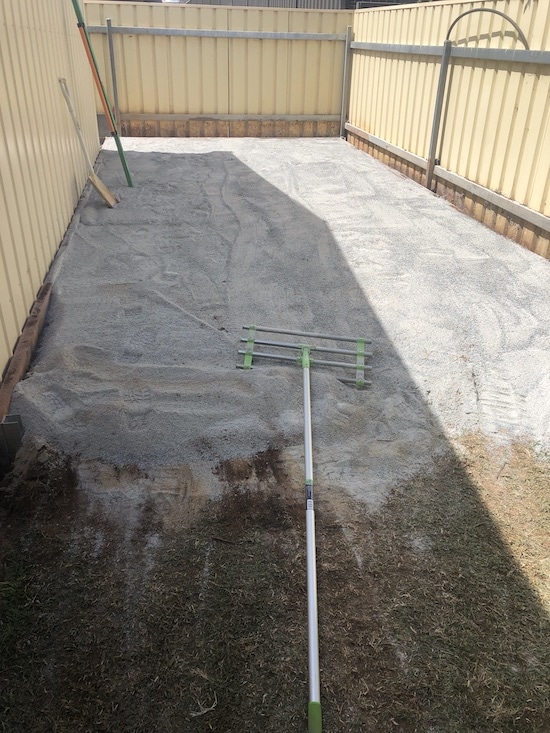
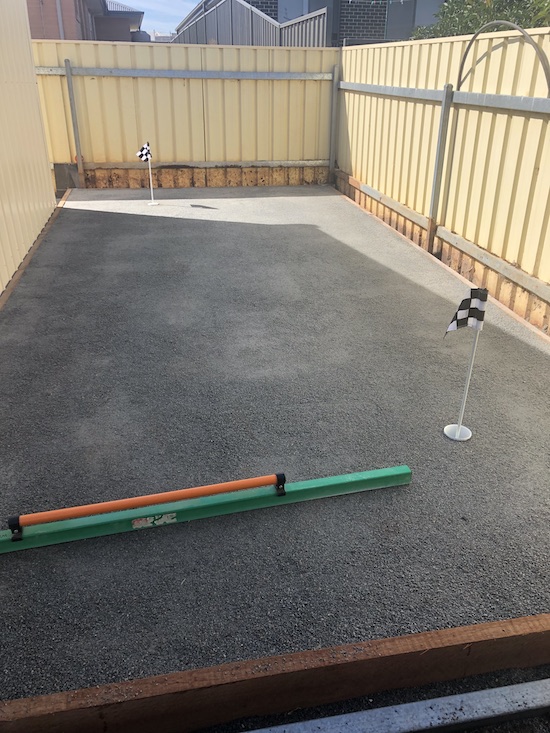
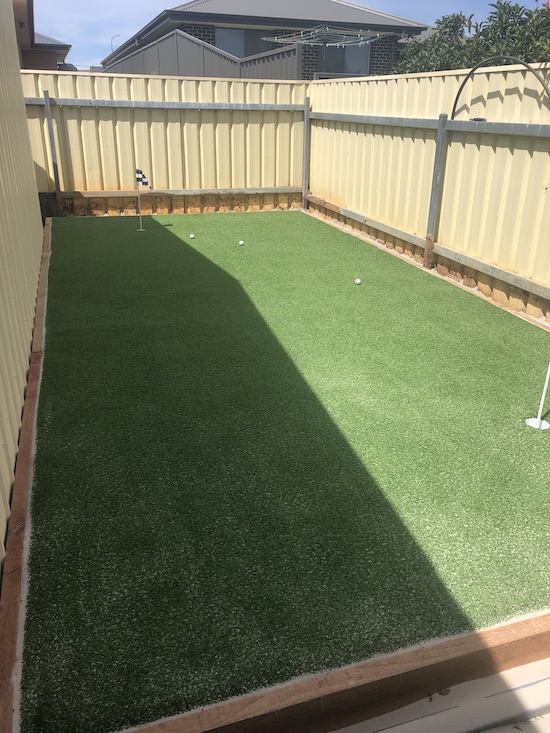
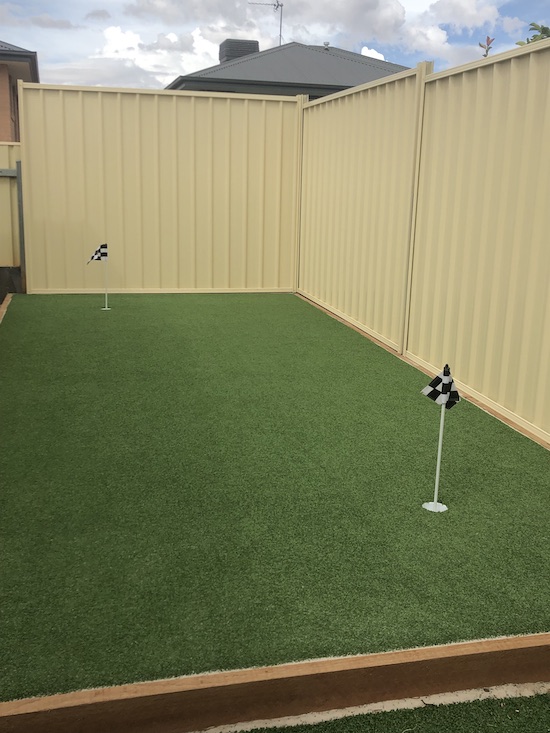
So that’s how to build a synthetic putting green in a nutshell. This DIY project saves quite a few dollars over a full install and if you follow our comprehensive DIY guide you won’t have too many issues.
Some things to keep in mind:
- Keep the design simple (like the one above)
- Forget about crazy undulations unless you have a really big area to work with
- Get some help from a mate (or two) who has a Bobcat or Dingo or tractor (they will become your best friend)
- Don’t rush the baseworks. They really are key
- And perhaps, most importantly, get some quality synthetic golf grass from us 🙂
If you think you’ve got the goods to build your own backyard putting green, then we’d like to chat to you.

Comments are closed.